
To add a seating chart to a WordPress event page, you need three things working together: a venue map built in the plugin’s drag-and-drop builder, a WooCommerce product that handles the ticket pricing, and a shortcode that embeds the interactive map on your event page. This guide walks through all three steps so your seating chart is live and selling tickets by the end.
What You Need Before Starting
- WordPress with WooCommerce installed and active
- Live Event Seating plugin installed and activated (get it here)
- A published event page or post (this can be a standard WordPress page, a WooCommerce product page, or a The Events Calendar event)
- A WooCommerce product for your ticket (Simple Product or Variable Product for tiered pricing)
The plugin supports any WordPress post type as the event container — you’re not locked into a specific events plugin.
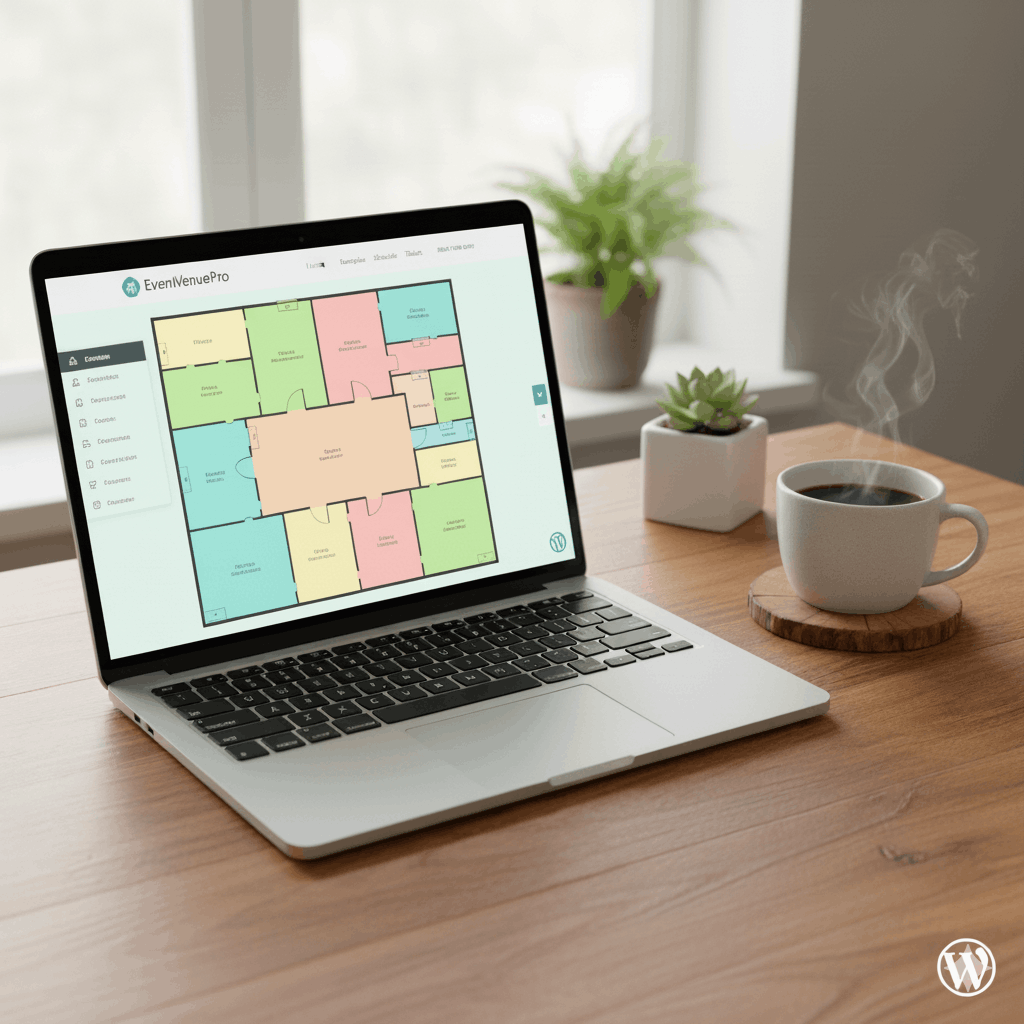
Step 1: Build Your Venue Map
Navigate to Seating Plan → Add New in your WordPress admin.
Give the seating plan a name that matches your event (e.g. “Spring Gala 2026 — Main Hall”). This name is internal only.
In the drag-and-drop builder:
Add seat rows for theater-style seating: click “Add Seat Block,” set the number of rows and seats per row, choose your labeling style (numeric or alphabetic), and position it on the canvas. Use the Curve slider if your venue has arched rows.
Add tables for dinner-style seating: click “Add Table,” choose round or rectangular, set seat count, enable Whole Table Booking if tables should be sold as single units.
Add a stage or dance floor as a non-bookable reference element so buyers understand orientation.
Add text labels to name sections (“VIP,” “Standard,” “Balcony”).
Use the X/Y coordinate inputs or snap-to-grid to align elements precisely. Rotate elements to any angle. Kill individual seats that shouldn’t be bookable.
When your map looks like your real venue, save the seating plan.
Step 2: Connect Your WooCommerce Product
Still inside your seating plan settings, find the WooCommerce Product field. Search for and select the ticket product you created for this event.
For flat pricing (every seat is the same price): use a Simple Product at your ticket price.
For tiered pricing (different prices for different zones): use a Variable Product with one variation per price tier (e.g. VIP = £150, Standard = £75). Then in the builder, select each seat section and assign it to the matching variation.
The plugin handles the rest — when a buyer clicks a seat, the correct product and price are automatically added to their WooCommerce cart.
Step 3: Embed the Seating Chart on Your Event Page
Open your event page in the WordPress editor. Add the shortcode:
[les_seating_chart event_id="YOUR_POST_ID"]Replace YOUR_POST_ID with the ID of the post/page where the event lives (visible in the URL when editing: post=123). Alternatively, use the dedicated Live Event Seating Gutenberg block if you prefer a block-based approach.
Page builder users: paste the shortcode into a shortcode block in Elementor, Divi, or your builder of choice. It renders identically.
Save and preview the page. The interactive seat map should appear with available seats in green, and a selection summary panel on the right.
Step 4: Test Before Going Live
Before publishing, do a full test purchase:
- Select a seat on the map — verify the correct price appears in the summary panel
- Proceed to WooCommerce checkout — verify the correct seat ID and price appear in the cart
- Complete a test order (use WooCommerce’s built-in test payment gateway)
- Check the thank-you page — verify the QR code appears
- Check the confirmation email — verify seat details and QR code are included
- Open the seating plan builder — verify the test seat shows as booked (grey)
- Open Seating Plan → Bookings — verify the booking appears in the manager
After the test, either refund the test order (which will release the seat automatically) or manually reset the seat from the builder.
Step 5: Configure the Cart Timer (Optional but Recommended)
Go to Seating Plan → Settings and set the seat lock timer duration. This determines how long a seat stays locked in a buyer’s cart before being released.
Recommended settings:
- Standard events: 10–15 minutes
- High-demand on-sales: 5–8 minutes (creates urgency)
- Corporate/complex bookings: 20–30 minutes (buyers may need to coordinate)
Common Issues and Fixes
Map not showing on the page: Check that the event_id in the shortcode matches the correct post ID, not the seating plan ID.
Seats not going grey after purchase: The product isn’t connected to the seating plan, or the order status didn’t reach “completed.” Check the WooCommerce product field in your seating plan settings.
Seat tooltip showing wrong price: The product variation isn’t correctly assigned to the seat section. Re-select the section in the builder and verify the price tier dropdown.
Mobile map too small to use: The seating-map-wrapper div may need a minimum height set in your theme CSS. Add min-height: 400px to the .seating-map-wrapper class in your theme’s custom CSS.
Full Documentation
For advanced configuration — multiple events per seating plan, accessibility seat marking, GA areas, section mode for large venues — see the complete Live Event Seating Documentation.
Everything you need to add a seating chart to any WordPress event page is inside the plugin. No developer. No third-party SaaS. No per-ticket fees. Get Live Event Seating → Starting from $49.99/year · 14-day money-back guarantee
Ready to Keep 100% of Your Ticket Sales?
The Live Event Seating Plugin integrates with WooCommerce, giving you a powerful seating chart builder with zero per-ticket fees.