
Most WordPress seating chart plugins let you build a grid of clickable seats. That works for a simple classroom or conference room. It doesn’t work for a theater with curved stalls, a venue that has a pillar blocking three seats in Row D, or a reception hall where rows are labeled A through P.
Real venues have irregular layouts. Your seating chart needs to match them exactly — because if a buyer books “Row C, Seat 8” online and shows up to find the real Row C, Seat 8 is behind a pillar with a partial view, you have an angry customer and a potential refund request.
Live Event Seating gives you three specific tools that close the gap between a generic grid and a real venue map: curved rows, kill seats, and custom seat numbering. Here’s what each one does and when you need it.
1. Curved Rows — For Theaters, Arenas & Any Non-Straight Layout
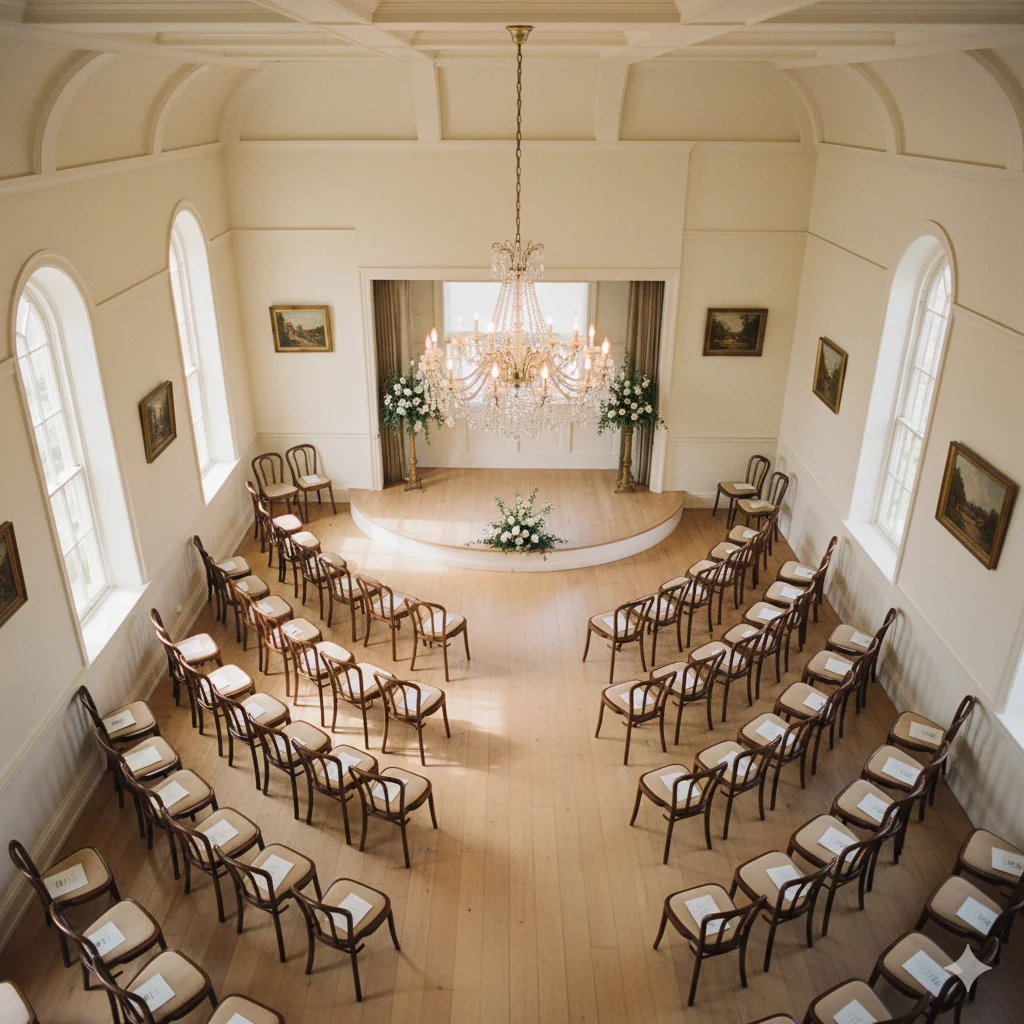
Most physical venues don’t have perfectly straight rows. Theater stalls curve toward the stage. Arena seating wraps around the performance area. Even small venues often have a slight arc to their seating arrangement to improve sightlines.
When your online seating chart shows straight horizontal rows and your physical venue has curved rows, buyers arrive confused. The seats don’t look where they expected them to be. Ushers spend extra time directing people. Complaints follow.
How it works in the builder:
Select any seat block in the drag-and-drop builder and use the Curve slider in the settings panel. Drag right to curve the row away from you (concave, like a theater stall facing a stage). Drag left to curve it toward you (convex). The seats redistribute themselves along the arc in real time as you drag.
The curve value is stored in degrees — so you can fine-tune it precisely. A slight 10° curve gives a gentle arc; a 45° curve creates a pronounced theater-style wrap.
What it looks like to buyers:
On the frontend seating map, the seat circles follow the curve of the arc. The visual impression immediately matches a real venue layout. Buyers understand instinctively where they’re sitting in relation to the stage because the map looks like the real thing.
2. Kill Seats — For Broken Chairs, Pillars, Restricted Views & VIP Holds
Every venue has seats that shouldn’t be sold. Common reasons:
- A chair is damaged or hasn’t been replaced yet
- A structural pillar partially blocks the view
- The venue has removed a seat to accommodate wheelchair space
- You’re holding specific seats for VIP guests, press, or staff
Without a kill seat feature, you’re forced to either leave these seats available (causing bookings into unusable positions) or reduce your overall capacity count in WooCommerce (losing the visual accuracy of the map).
How it works in the builder:
In the seat block settings, there’s a Killed Seats field. Click any individual seat in the builder to select it, then mark it as killed. It disappears from the frontend — buyers never see it, can’t hover over it, and can’t select it. In the backend builder it shows as a distinct visual indicator so you know it’s there but suppressed.
Killed seats are stored by their seat ID (e.g. block-A-R3-S7) — so they persist across events that reuse the same seating chart template.
Practical example:
A venue has 20 seats in Row E but seats E4 and E5 are behind a pillar with a partially obstructed view. You kill E4 and E5. The online map shows Row E with 18 available seats, the pillar positions are invisible, and no one ever books an obstructed seat. No complaints. No refunds.
3. Custom Seat Numbering — Match Your Physical Venue’s Signage Exactly
This is covered in depth in the Custom Seat Numbering post, but to summarise the key controls:
- Seat Label Style: Numeric (1, 2, 3…) or Alphabetic (A, B, C…)
- Seat Start At: Begin the sequence at any number (useful for sections starting at 101, 201, etc.)
- Row Label Style: Independent numeric or alphabetic labeling for rows
- Row Start At: Begin rows at any point in the sequence (e.g. start at Row C if A and B were removed)
These four controls mean your online map can show exactly “Row D, Seat 12” when the physical seat sign says “Row D, Seat 12” — matching perfectly across the ticket, the confirmation email, and the door scanner readout.
Using All Three Together: A Real-World Example
Venue: A 180-seat private theater with curved stalls and a balcony.
Configuration:
- Stalls (rows A–J, 18 seats each): Curve set to 22° to match the physical arc. Rows labeled alphabetically starting at A. Seats numbered 1–18. Seats A6 and A7 killed (pillar obstruction on left side).
- Balcony (rows K–M, 12 seats each): No curve (straight balcony). Custom start-at: Row K = 11th letter. Seats numbered 1–12.
Result: The online map looks like the real theater. Buyers know exactly where Row B, Seat 9 is before they arrive. The pillar-affected seats don’t exist in the booking interface. The balcony has the correct K–M row labels that match the physical signs.
This level of accuracy takes about 20 minutes to set up in the builder. It prevents a significant amount of confusion and complaints at every subsequent event.
Ready to Keep 100% of Your Ticket Sales?
The Live Event Seating Plugin integrates with WooCommerce, giving you a powerful seating chart builder with zero per-ticket fees.